

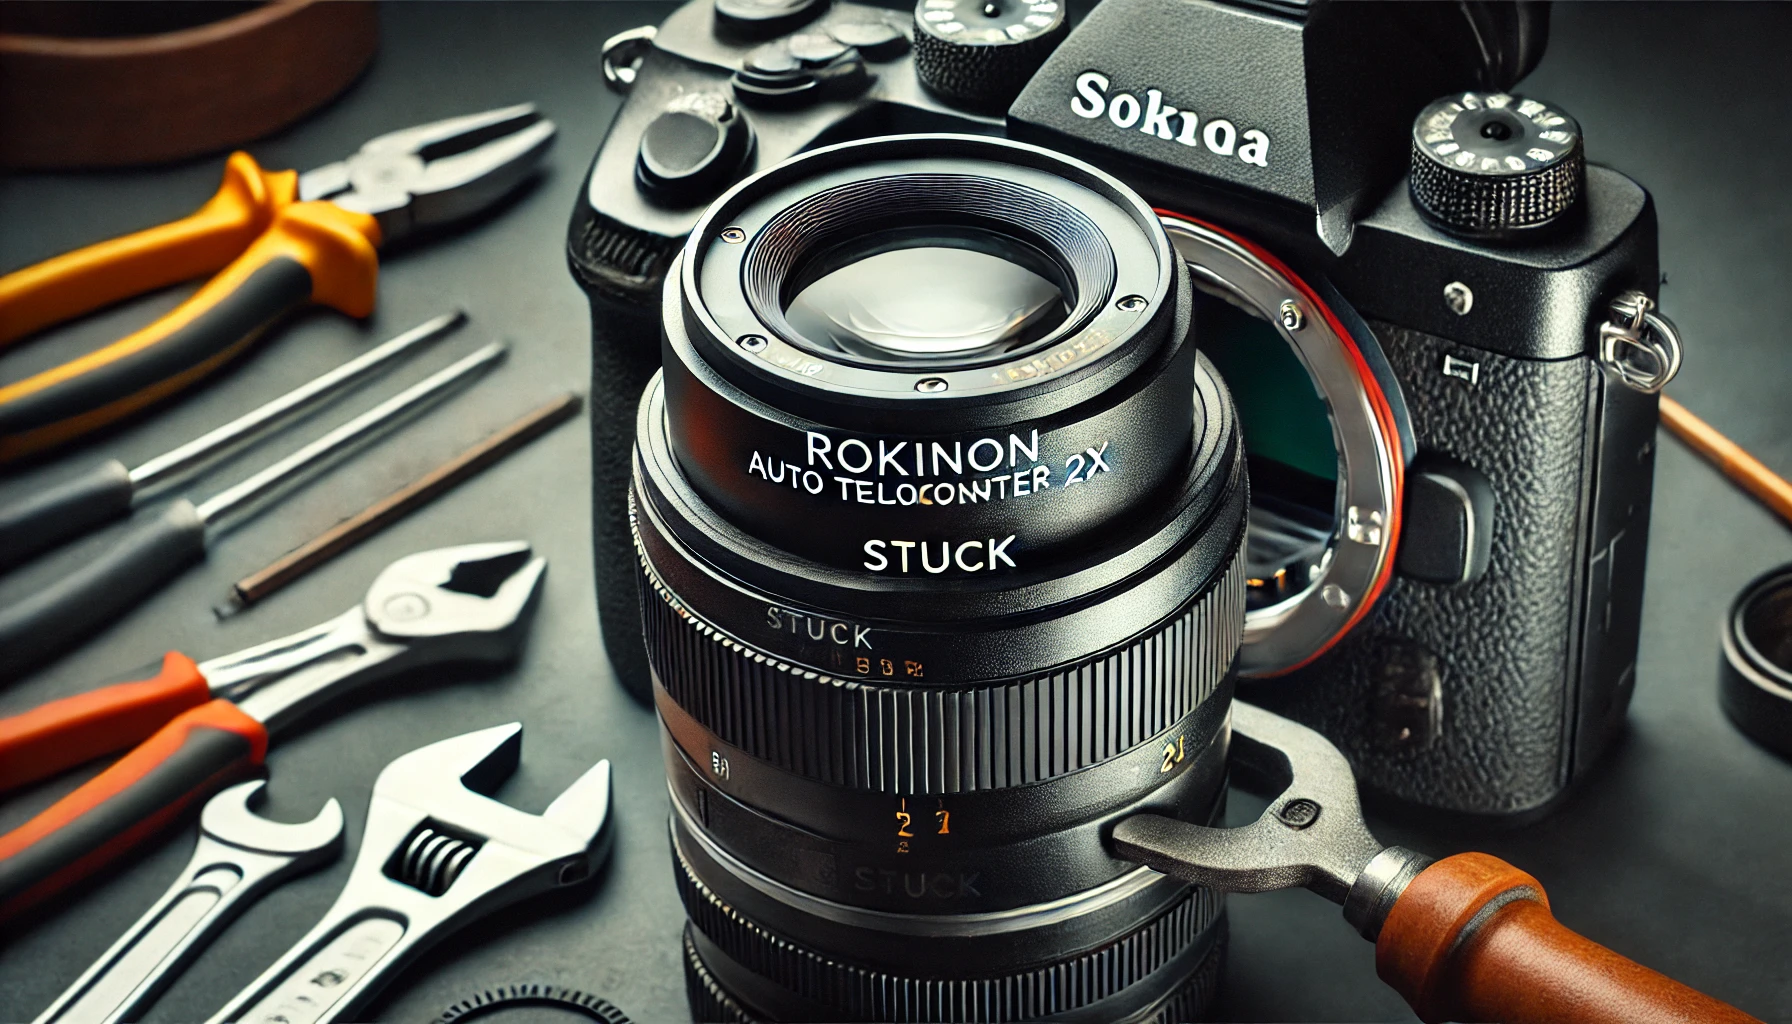
The Rokinon Auto Teleconverter 2x stuck issue can be frustrating and risky for the camera and lens. If removed incorrectly, it can cause damage to the mount or locking mechanism. Understanding the reasons for the issue helps in finding the right solution.
The teleconverter is a useful tool for increasing a lens’s focal length, helping photographers achieve a closer zoom without changing the primary lens. However, sometimes it may become stuck when attached to a camera or lens.
Many factors contribute to this problem, such as misalignment, dirt, or even temperature changes. Each of these can cause the teleconverter to get stuck more tightly than expected.
By following a few careful steps, it is possible to safely detach the teleconverter. Using proper techniques ensures that no damage occurs to either the teleconverter or the camera.
Common Reasons for the Teleconverter Getting Stuck
One common reason for a Rokinon Auto Teleconverter 2x stuck issue is misalignment. If the teleconverter is not correctly attached, it may not sit properly on the lens or camera mount. This can make removal difficult.
Another factor is a jammed locking pin. The locking mechanism inside the teleconverter ensures it stays attached, but sometimes it can get stuck due to mechanical failure. If the pin doesn’t retract properly, it prevents smooth removal.
Dirt and debris can also lead to a stuck teleconverter. Small particles of dust, sand, or grime may enter the lens mount area, creating friction that makes detachment difficult. Regular cleaning can help avoid this issue.
Temperature changes may cause the metal parts of the teleconverter and lens mount to expand. If the teleconverter is attached in a warm environment and then exposed to colder conditions, the expansion and contraction may make it harder to remove.
Another reason is overtightening. Some photographers unknowingly apply too much force when attaching the teleconverter, making it difficult to remove later. A firm but gentle attachment is recommended to avoid this issue.
Step-by-Step Solutions to Remove the Stuck Teleconverter
Check for Proper Alignment
Before applying force, check whether the teleconverter is slightly tilted. If it is misaligned, it may be jammed against the lens mount. Slowly rotate it in both directions to feel for a release point.
If alignment is not the issue, try gently wiggling the teleconverter while holding the camera body. A small movement may help loosen any friction or mechanical jam.
Use the Lens Release Button
Most cameras have a lens release button that must be pressed to remove a lens or teleconverter. Press this button firmly and hold it while gently twisting the teleconverter counterclockwise.
If the button is not responding, try pressing it multiple times while applying slight pressure to the teleconverter. Sometimes, the release mechanism just needs a little extra push.
Apply a Rubber Grip for Better Hold
Using a rubber grip can improve your hold on the teleconverter and prevent slipping. A rubber jar opener or grip pad works well for this purpose.
A simple alternative is using rubber gloves, which increase friction and allow for a steadier grip. This makes it easier to apply controlled pressure without forcing the teleconverter.
Check the Locking Pin
If the locking pin is stuck, try to gently push it back into place using a toothpick or a small plastic tool. This may help release the lock and make the teleconverter easier to remove.
Be careful when handling the locking mechanism. Applying too much force can cause damage, making the issue worse instead of solving it.
Temperature Adjustment Method
Temperature changes can cause metal expansion and contraction, making the teleconverter tighter than normal. A simple fix is to place the camera and teleconverter in a cool (not freezing) environment for a few minutes.
Cooling the metal can cause it to contract slightly, loosening the connection. This method is useful if the teleconverter was attached in a warm environment and then became stuck.
If cooling doesn’t work, try the opposite method. Use a slightly warm cloth and press it against the teleconverter for a few seconds. The small temperature difference may help break the tight grip.
Avoid exposing the camera and teleconverter to extreme temperatures. Sudden temperature changes can cause condensation inside the lens, leading to long-term damage.
Alternative Methods to Try
If the above solutions do not work, try changing the angle of pressure. Sometimes, gently pressing inward while rotating counterclockwise can help release the teleconverter.
Another trick is to lightly tap the teleconverter while holding the camera body firmly. This can help dislodge any minor obstructions preventing removal.
For some cases, using a lens wrench tool designed for camera repairs may help. These tools provide better grip and leverage for removing stuck parts safely.
If none of these methods work, it may be best to seek professional help. A camera repair specialist can inspect the teleconverter and remove it without causing damage.
| Method | Effectiveness | Risk Level |
| Gentle twisting | High | Low |
| Lens release button | High | Low |
| Rubber grip | Medium | Very Low |
| Locking pin check | Medium | Medium |
| Temperature change | Medium | Low |
| Professional repair | Guaranteed | None |
Preventing Future Sticking Issues
One way to prevent a Rokinon Auto Teleconverter 2x stuck issue is by handling the attachment process carefully. Always ensure that the teleconverter is properly aligned before tightening it.
Regular cleaning of both the teleconverter and camera mount is essential. Dust and debris can accumulate over time, making future removals difficult. Use a soft brush or air blower to keep the mount area clean.
Avoid exposing the teleconverter to extreme temperatures. If shooting in a very warm or cold environment, allow the camera and teleconverter to adjust to the temperature gradually before removing it.
When attaching the teleconverter, apply only gentle pressure. Over-tightening may make future removal difficult. Instead, secure it with just enough force to keep it in place.
Checking the locking pin mechanism before and after each use can help. If the pin seems to be sticking or not working smoothly, addressing the issue early can prevent the teleconverter from getting stuck.
Conclusion
The Rokinon Auto Teleconverter 2x stuck issue can be frustrating, but with the right techniques, it can be safely removed. Checking alignment, using a rubber grip, and trying temperature adjustments are some of the most effective methods.
Forcing the teleconverter off is not recommended, as it may cause damage to the lens or camera. Instead, patience and careful handling will usually solve the problem without harm.
Regular maintenance and careful handling can prevent future sticking issues. Cleaning, proper alignment, and avoiding extreme temperature changes are key factors in keeping the teleconverter working smoothly.
If all else fails, seeking professional help is the best option. Camera repair specialists can safely remove the teleconverter without damaging the equipment.
FAQs
Why is my Rokinon Auto Teleconverter 2x stuck on my lens?
It may be due to misalignment, a jammed locking pin, dirt, or metal expansion from temperature changes.
How can I safely remove a stuck teleconverter without damaging my camera?
Press the lens release button firmly, use a rubber grip for better hold, and twist gently without force.
Can temperature changes affect the removal of the teleconverter?
Yes, cooling or slightly warming the teleconverter can help contract or expand the metal, making it easier to detach.
What should I do if the locking pin is stuck?
Gently nudge the pin using a small tool like a toothpick, but avoid excessive force to prevent damage.
When should I seek professional help for a stuck teleconverter?
If twisting, alignment checks, and temperature methods fail, a professional camera technician is the safest option.